3D Scanning, Digitization, Reverse Engineering and Metrology
Powerful technologies and proven methodologies for 3D measurement and digitalization are making it possible to transmit complex-shaped objects from the real world to digital form. Virtual 3D models are distinguished by high precision, a prerequisite for their effective use in CAD systems.
Areas of use:
- Contact measurement: evaluating dimensions and tolerances for shapes and positioning.
- Contactless scanning: comparing the surface of real world objects with 3D models and drawings.
- Reverse engineering: creating 3D models from existing undocumented parts.
Contact measurement:
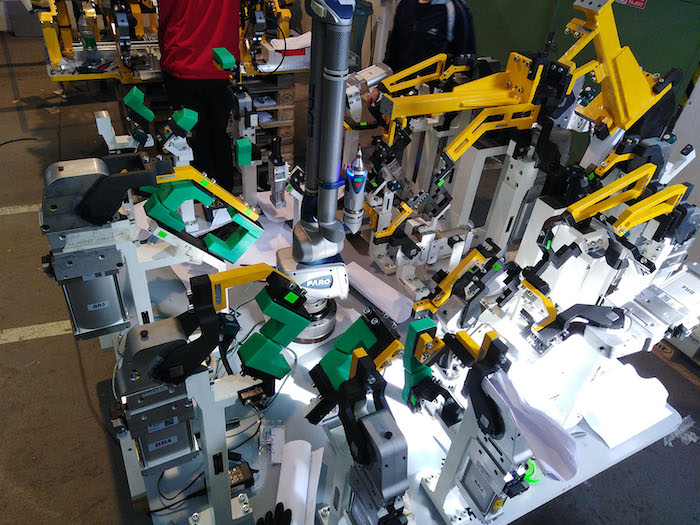
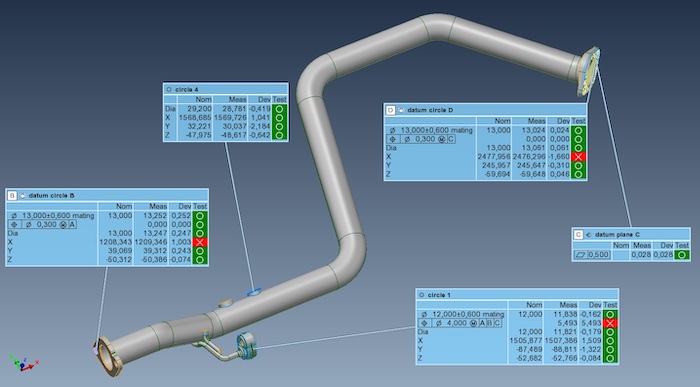
Checking dimensions from manufacturing schedules, measuring position and shape, and the ability to measure in real time any deviations from the 3D model all make contact measurement the ideal solution for piecework, low-volume serial production and ramp-ups, or for inspecting products directly on the assembly line as they are manufactured.
Advantages:
- On-site measurement of production
- Rapid creation of measurement programs and reports
- Lower costs
Contactless scanning:
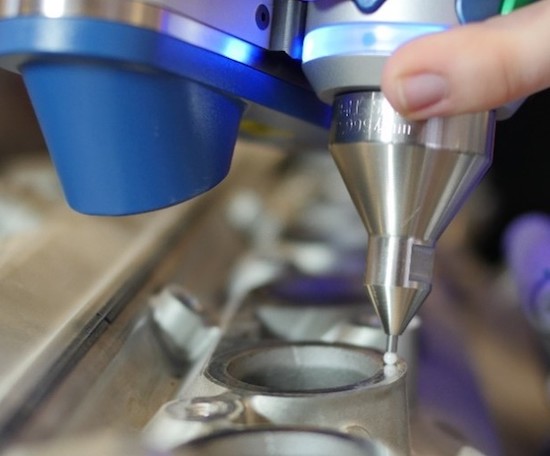
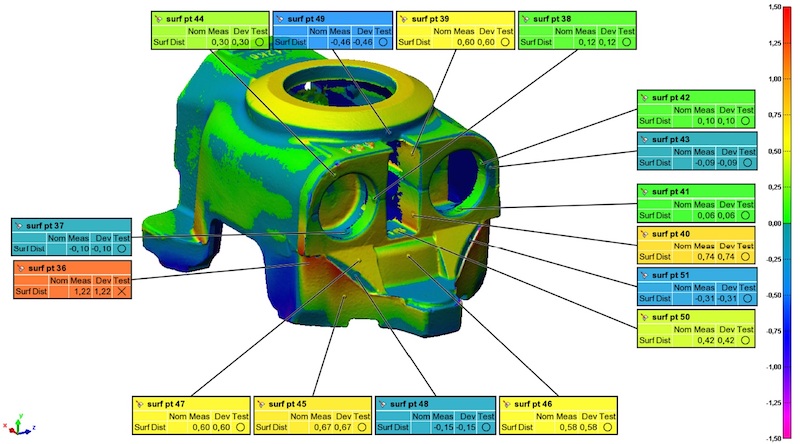
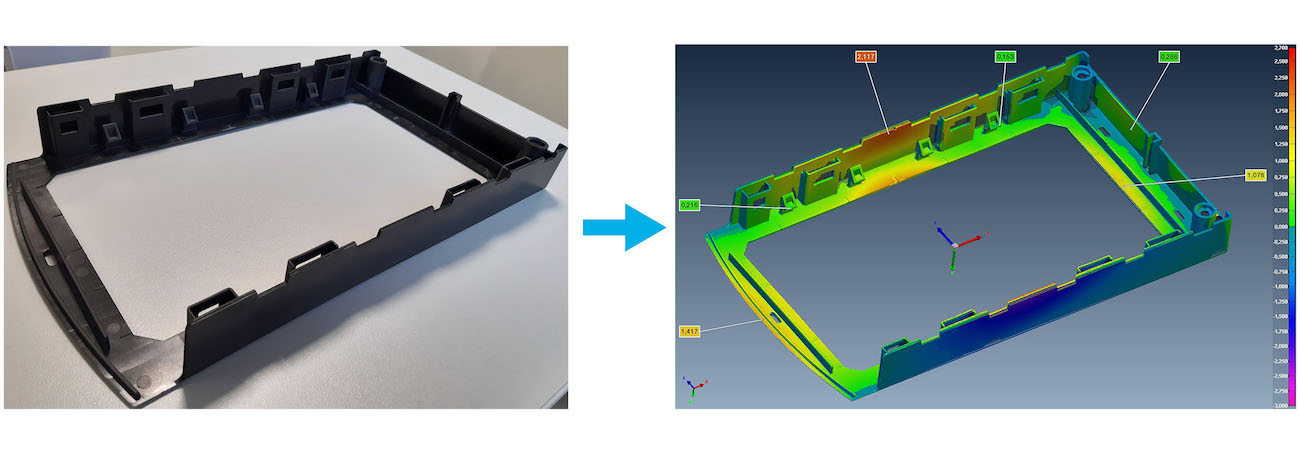
By allowing a large number of measuring points to be taken from the surface, contactless scanning uncovers nonconformities that escape detection when measuring by contact with the part. It lets you capture almost all deformations and convert them onto a color map. This is particularly appreciated when scanning multiple parts for assembly, where each part’s impact on the others can be observed.
Contactless scanning is ideal for scanning molds, plastic parts and machine-shaped surfaces.
Advantages:
- Scanning without physical contact with the measured part (like thin tubes)
- Assures along with contact measurement greater measuring precision
- Measures during production right at the customer’s plant
- Able to scan hard-to-move parts
Reverse engineering:
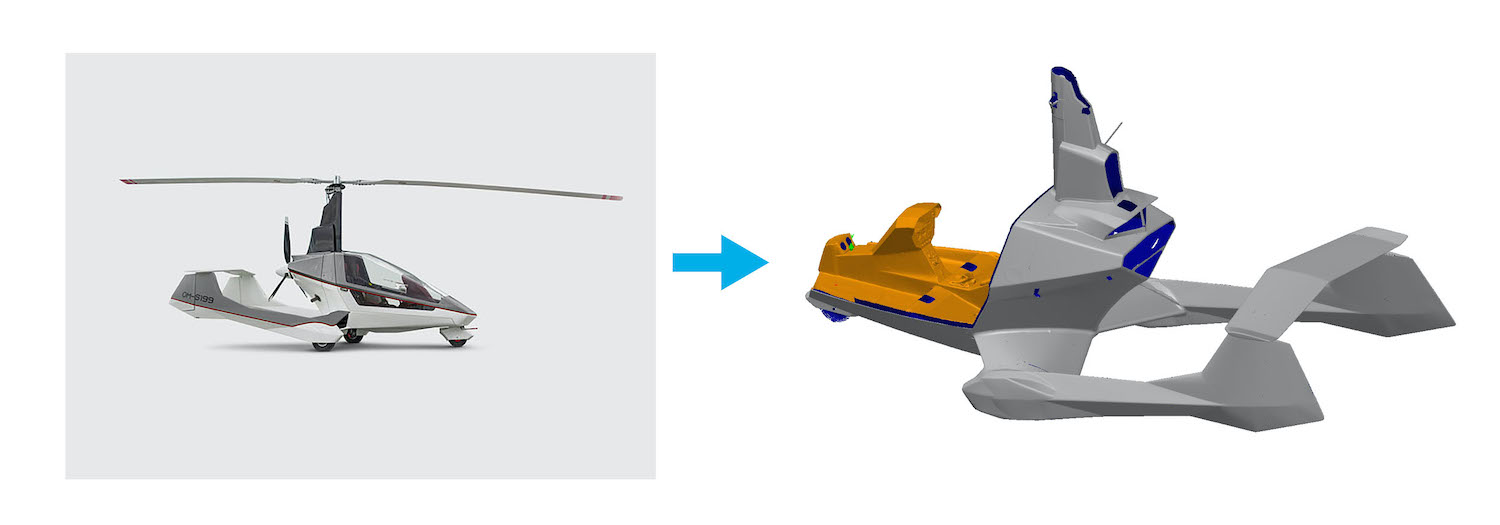
Data from 3D designs can be extracted from an existing object, when documentation or a 3D model is missing, simply by reverse engineering it. Shapes that have been manually processed can likewise be transmitted and described. Reverse engineering allows prototypes to be digitized and converted into mass-production models.
The following can be reversed engineered:
- Undocumented parts
- Custom-manufactured prototypes
- Damaged parts
- Changes captured over a product’s life cycle
Contact measurement:
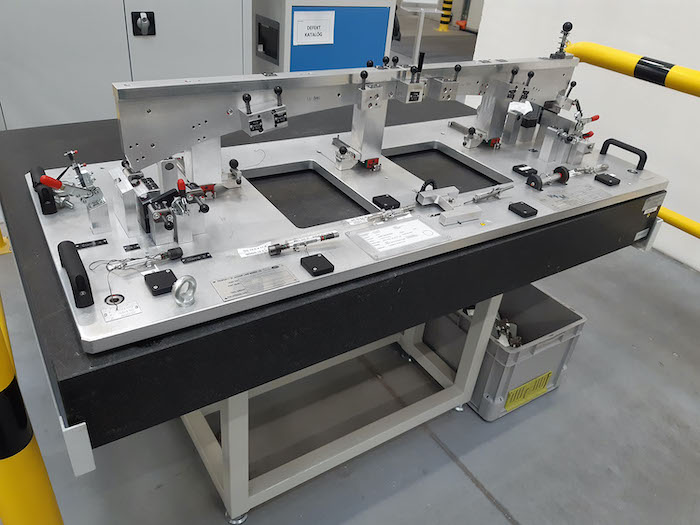
- Calibrates measuring instruments
- Inspects and adjusts robot grippers
- Sorts process tools
- Controls serial-production quality
- Checks welding
Contactless scanning:
- Inspects products and measuring instruments
- Checks injection molds
- Analyzes plastic shrinkage
- Provides detailed quality control of surfaces and visible areas as it scans surface textures and graphics
- Scans design elements, abstract shapes and fragile products
